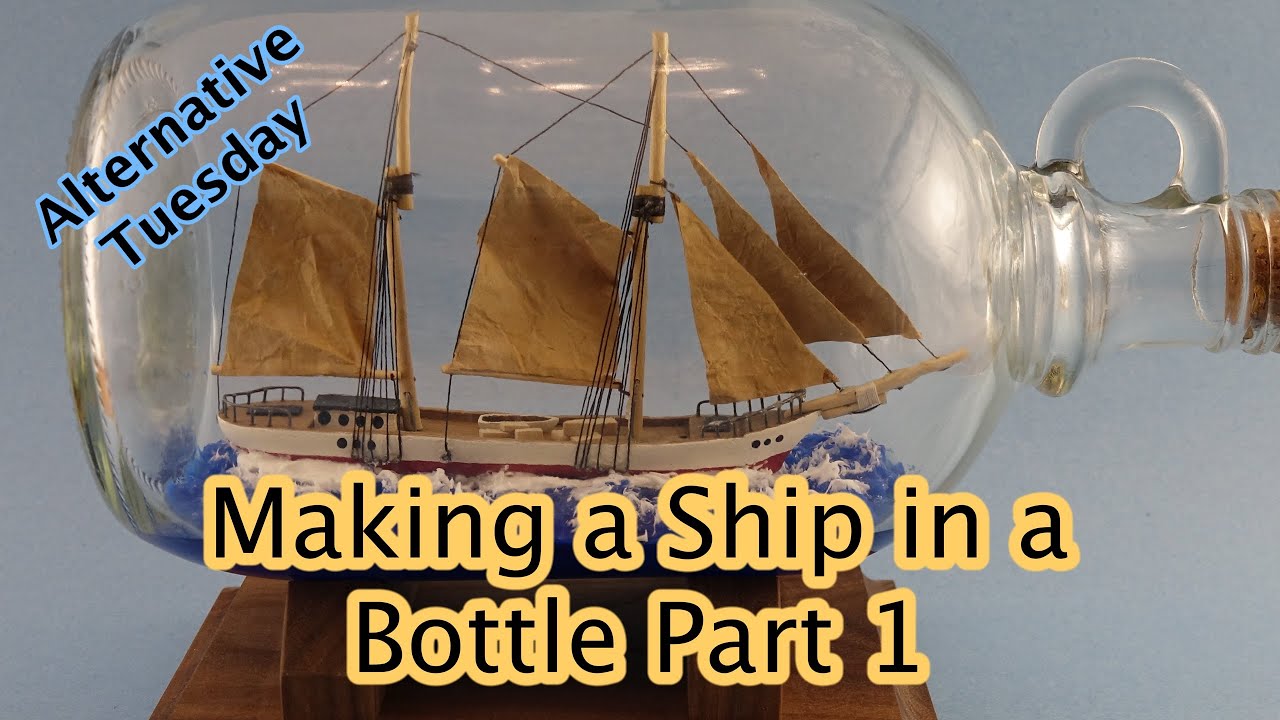
A ship in the bottle!


Creating a ship in a bottle is a fascinating and delicate craft. It requires precision, patience, and a good understanding of miniatures. Here are the general steps to put a boat inside a bottle:

Materials Needed:

  • A small model ship (specifically designed for this purpose)
  • A glass bottle with a wide enough neck
  • A long tweezers or craft knife
  • Thread or fine string
  • Glue (clear drying)
  • Clay or putty (for the base inside the bottle)
  • A small funnel (optional)
  • A dowel or stick (to position the ship)
  • A sharp blade or scissors

Steps:

1. Build the Ship Outside the Bottle:

  • Assemble your model ship with folded masts and sails. You can either buy a kit or build one from scratch.
  • Ensure that the sails are designed to fold down to fit through the neck of the bottle. Masts are usually hinged or collapsible.
  • The rigging (threads that represent the ropes) should be loose so the masts can fold down easily.

2. Test Fit the Ship:

  • Before proceeding, check that the ship, when collapsed, can fit through the bottle neck. If it does not fit, you may need to adjust or reassemble the ship.

3. Prepare the Bottle:

  • Clean the inside of the bottle thoroughly to ensure no dust or debris will be trapped inside. The clearer the bottle, the better the final result will look.
  • Place a small amount of clay or putty at the bottom of the bottle using the dowel or stick. This will serve as the «sea» and also anchor the ship in place.

4. Fold the Masts and Sails:

  • Carefully collapse the masts and sails of the ship. You may use thread to hold them down temporarily.
  • The idea is to have the ship’s body go through the bottle’s neck while keeping the masts folded down to prevent them from breaking.

5. Insert the Ship into the Bottle:

  • Gently insert the folded ship into the bottle using tweezers or long-handled tools. Make sure the hull of the ship is securely placed on the clay or putty base.
  • Adjust its position by moving it with the dowel or craft knife to ensure it sits properly inside.

6. Raise the Masts:

  • Once the ship is inside, pull on the threads that were attached to the masts to raise them upright. This is the trickiest part of the process and requires steady hands.
  • The masts should snap into place as they rise, and the sails should open up.

7. Secure the Ship:

  • Once the masts are up, trim the threads carefully and use a tiny amount of glue to secure the ship to the base (if needed).
  • Let the glue dry completely.

8. Seal the Bottle:

  • Once the ship is positioned perfectly, you can either use a cork or seal the bottle with glue or wax to finish the project.
  • You can also label or decorate the outside of the bottle for a personalized touch.

9. Display:

  • Place the ship in a bottle on a display stand or case where it can be appreciated without risk of being broken.

This project takes some practice, but it’s a rewarding experience to see the miniature ship standing proudly inside the bottle!